
从来都是从中央仓库下载jar,这次需要向中央仓库提交jar。网上也有很多文章都是以gradle-bintray-plugin这个插件做上传,本篇是参照鸿洋大神的博文亲身采用bintray-release这个插件操作的。特此记录,贡献大家,为方便以后再次发布。
上传到 JitPack 可参考这篇
注册bintray账号
JCenter是bintray旗下中央仓库,先在bintray的官网注册一个账号,为方便起见也可以使用github账号登录。
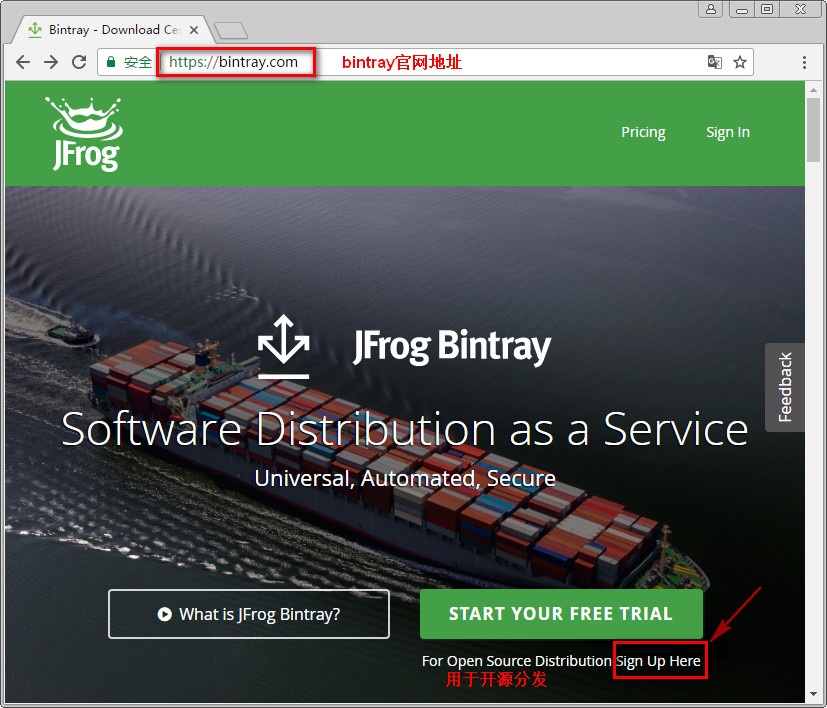
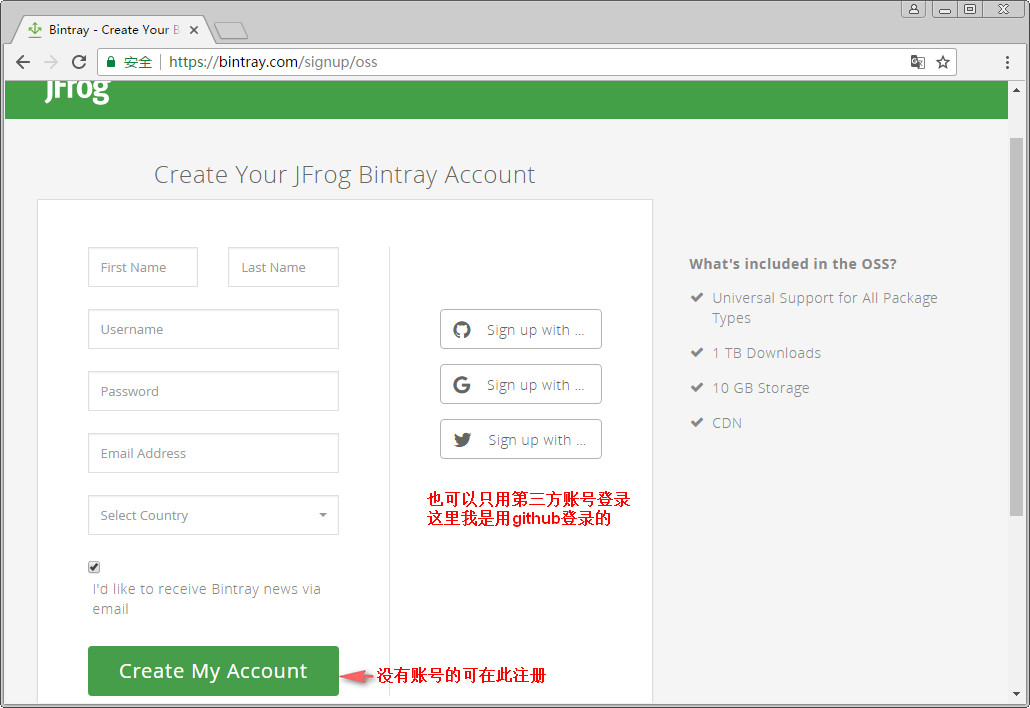
用于开源分发可点击For Open Source Distribution Sign Up Here注册/登录。
注册/登录成功后进入个人中心:
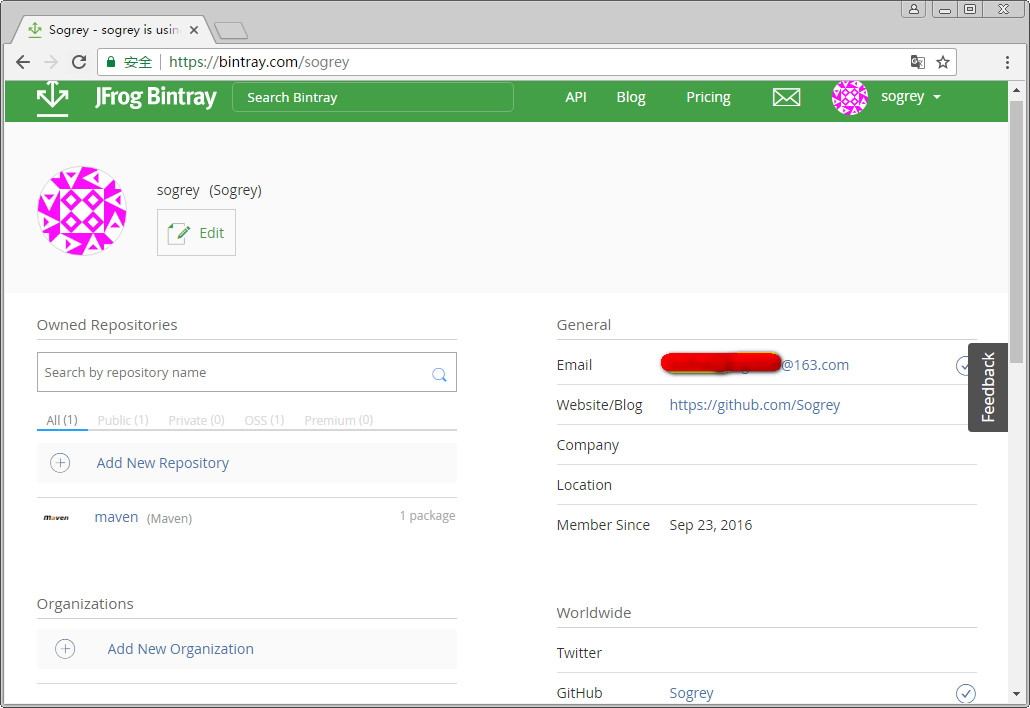
到此注册bintray账号的准备工作就做完了,下面我们准备一个将要发布的库项目Android Studio项目。
另:顺便做点准备工作,在bintray个人中心获取API KEY(地址是:https://bintray.com/profile/edit),也可以在个人中心点击Edit或鼠标移到右上角你的用户名出弹出菜单点击Edit Profile,跳到下面页面:
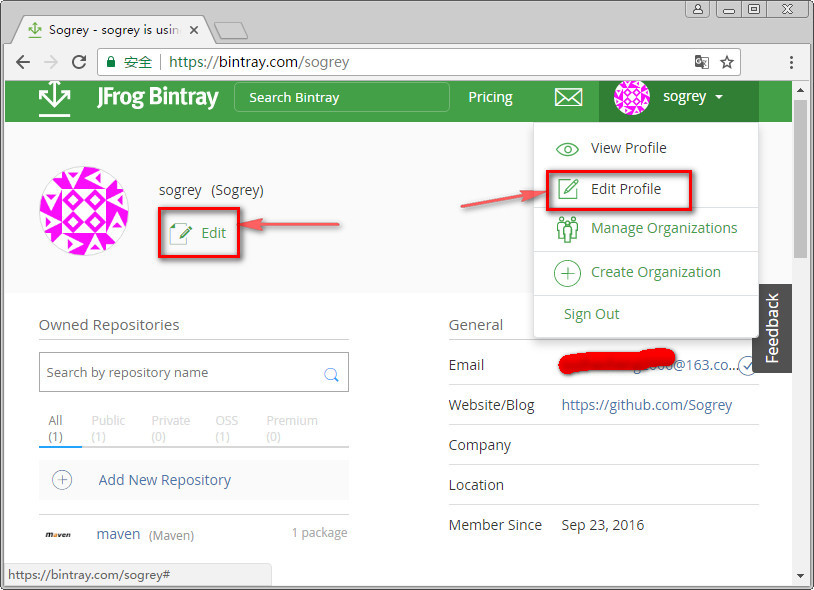
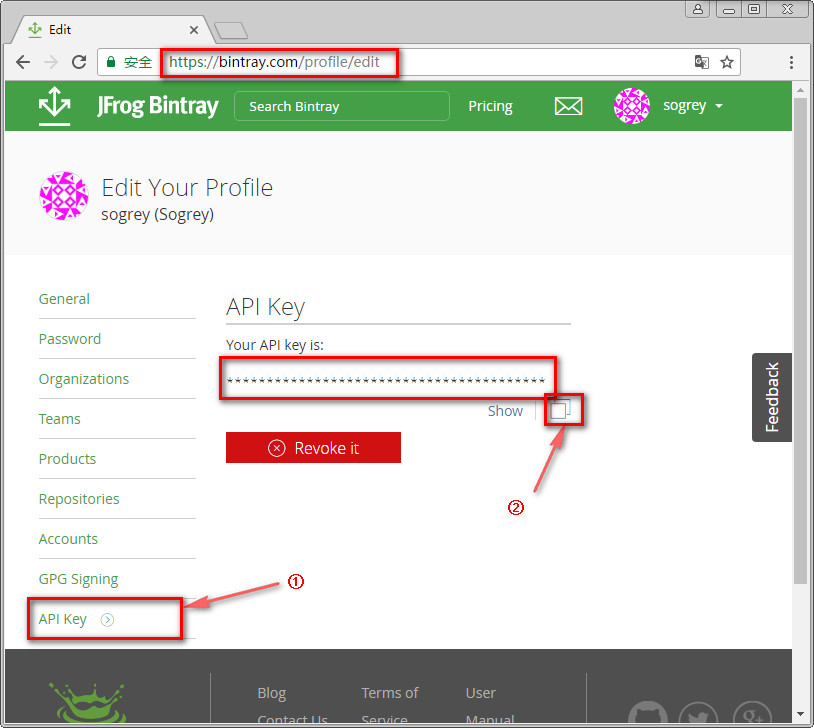
点击① API KEY –> ② 复制API KEY,以备后用。
准备要发布的库
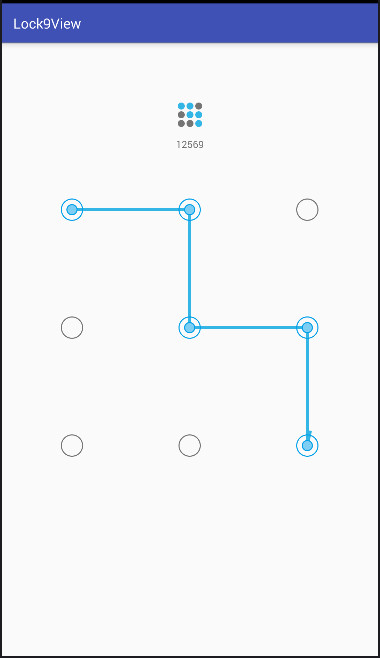
我准备的android项目是九宫手势图案的自定义View。先来看下项目整体结构:
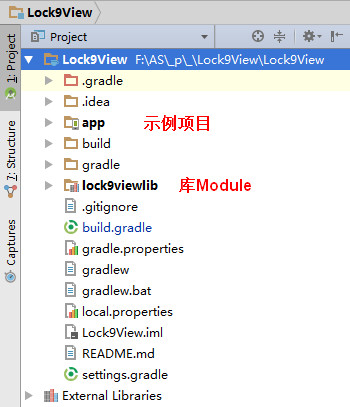
其中,lock9viewlib 这个库Module就是我们将要发布的开源库。下面就准备发布前的一系列设置吧。
准备发布
1.引入bintray-release
在项目的build.gradle添加bintray-release的classpath,注意是项目根目录下的的build.gradle。
buildscript {
    repositories {
        jcenter()
    }
    dependencies {
        classpath 'com.android.tools.build:gradle:1.2.3'
        classpath 'com.novoda:bintray-release:0.3.4' //添加
    }
}
2.设置moudle的build.gralde
在库Module的build.gradle里设置如下:
apply plugin: 'com.android.library'
apply plugin: 'com.novoda.bintray-release'//添加
//添加
publish {
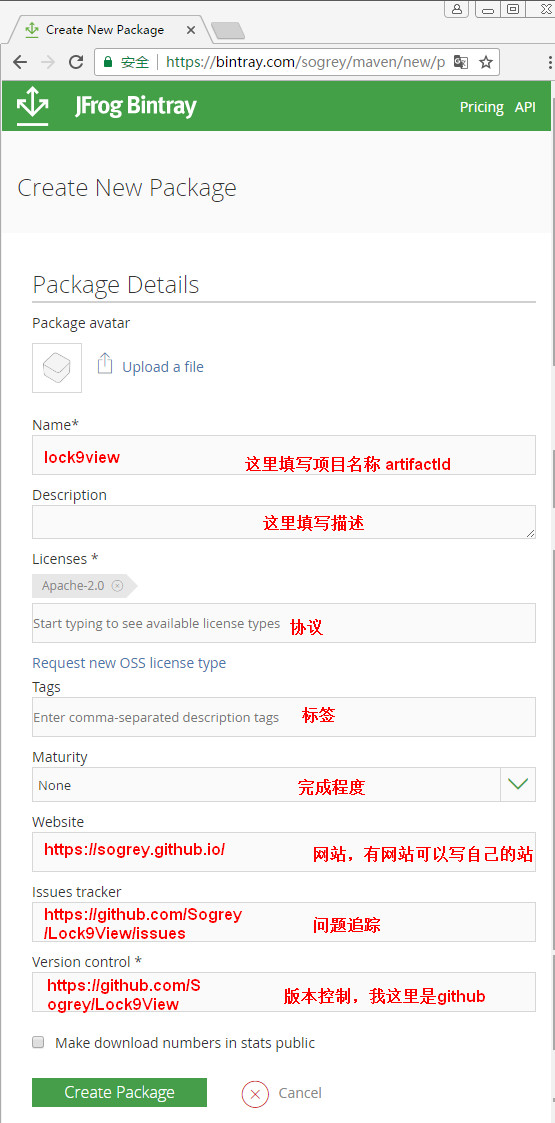
userOrg = 'sogrey'//bintray.com用户名
groupId = 'org.sogrey'//jcenter上的路径
artifactId = 'lock9view'//项目名称
publishVersion = '0.0.1'//版本号
desc = 'This is a view for Android to lock screen.'//描述
website = 'https://github.com/Sogrey/Lock9View'//网站
}
设置完毕最终引入的方式为:
compile ‘{groupId}:{artifactId}:{publishVersion}’
对于本例即就是如下:
compile ‘org.sogrey:lock9view:0.0.1’
完成上面的配置后,就准备上传了。
3.在添加新的Maven库(已有请路过)
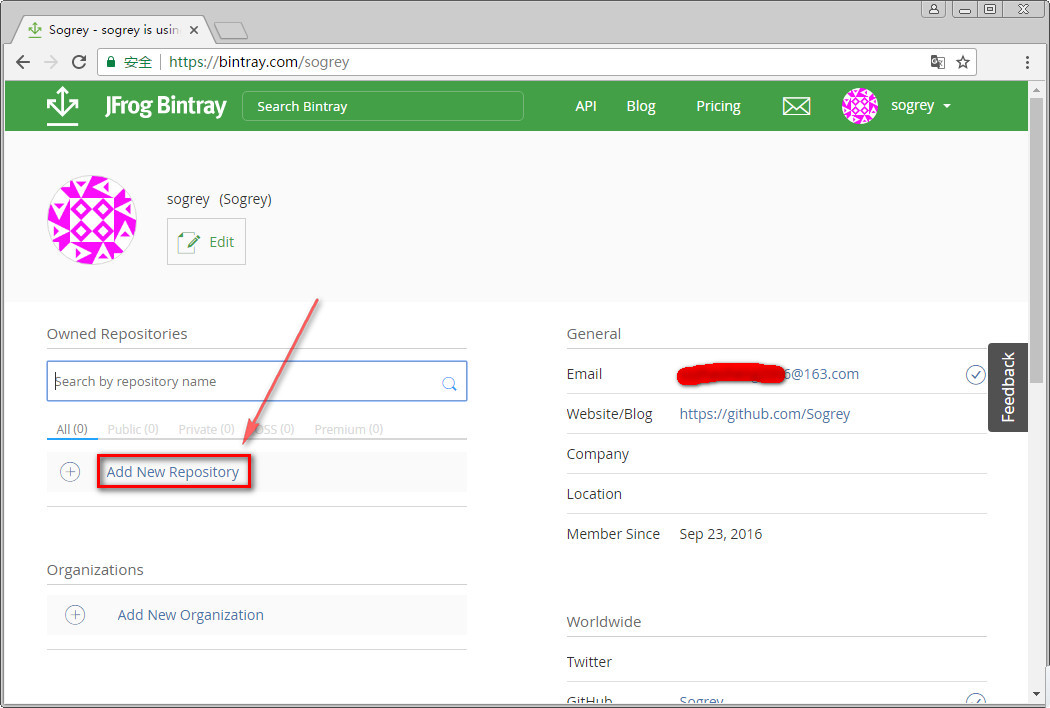
点击 Add New Repository 添加,
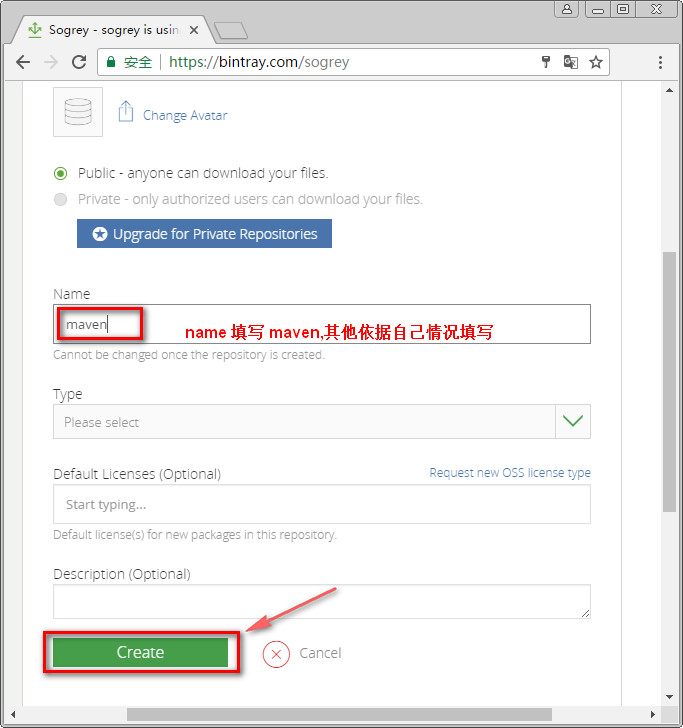
添加成功,进入如下页面:
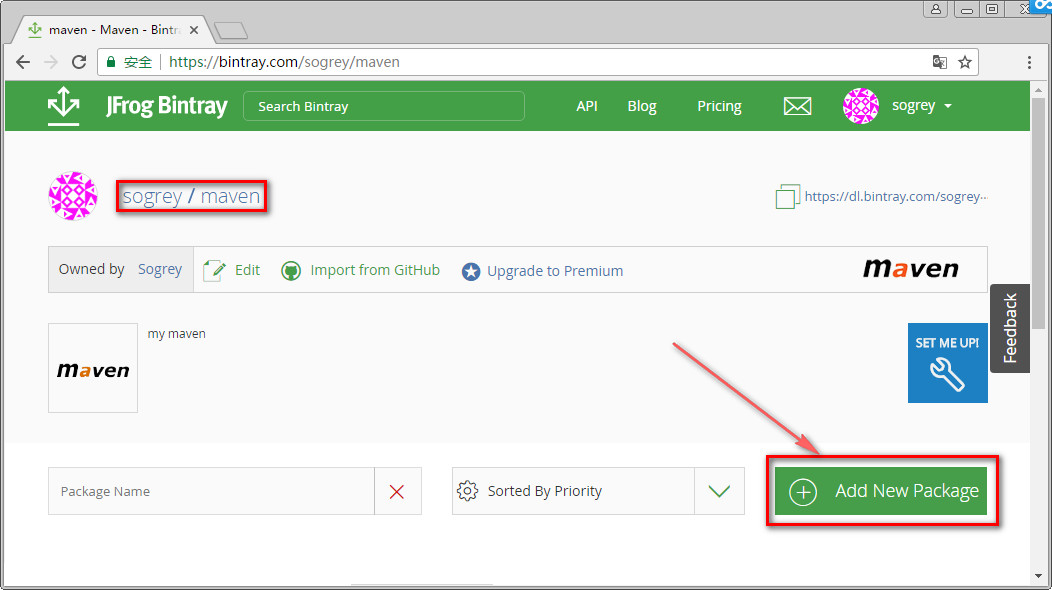
点击 Add New Package,添加一个新的包
4.上传
上传很简单,执行下面命令:
Mac os:
./gradlew clean build bintrayUpload -PbintrayUser=username -PbintrayKey=xxxxxxxxxxxxxxxxxxxxxx -PdryRun=false
win OS:则没有前面的 ./ :
gradlew clean build bintrayUpload -PbintrayUser=username -PbintrayKey=xxxxxxxxxxxxxxxxxxxxxx -PdryRun=false
其中username用你的bintray用户名替换,xxxxxxxxxxxxxxxxxxxxxx用之前拿到的 API KEY 来替换。
该命令可在Android studio自带的 Terminal 执行:
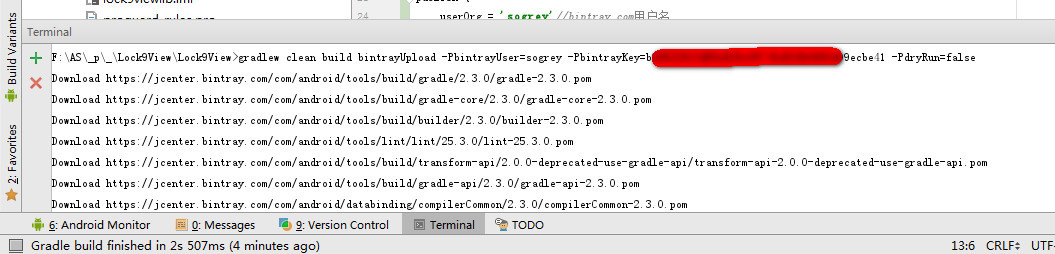
第一次执行时会下载一堆 .pom 和 .jar,耐心等待。直到出现 BUILD SUCCESSFUL 就ok了。

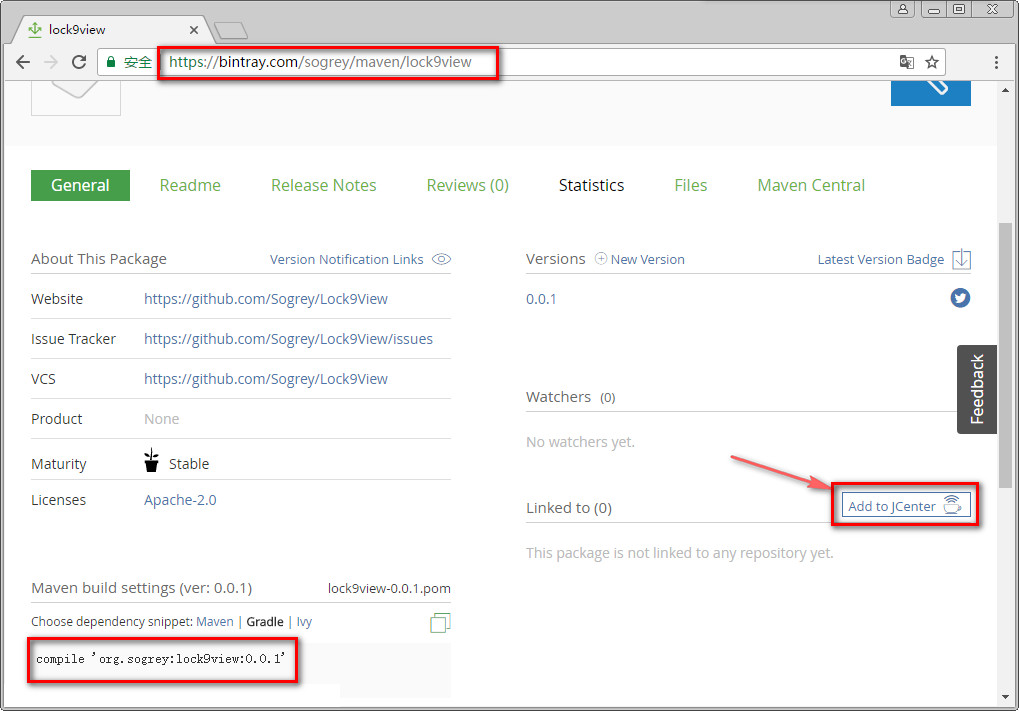
5.添加到JCenter
进入maven库中的我们新建的lock9view,点击 Add to JCenter,下面等待审核,通过后便可在我们的项目中引用了,Gradle 的引用方式:
compile ‘org.sogrey:lock9view:0.0.1’
审核通过后,上图中的 Add to JCenter 的按钮就消失了。

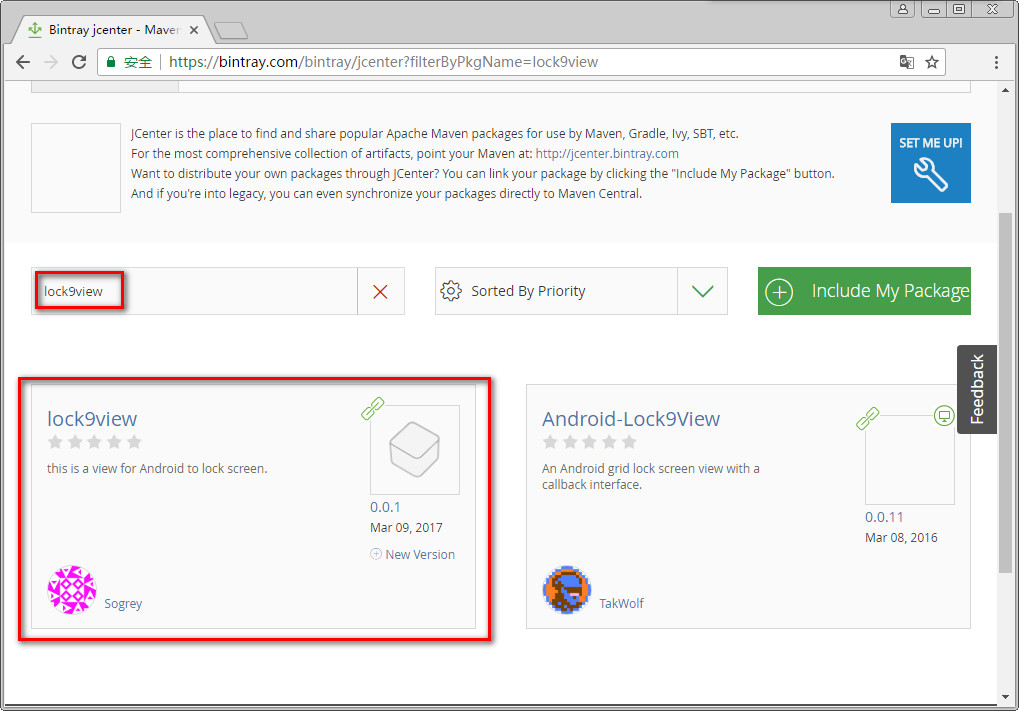
点击 Jcenter 可查看到以项目名称artifactId lock9view 过滤查到的项目,目前有两个,左边是咱们自己上传的。
6.在Android项目中compile
在实例项目的build.gradle文件编辑:
//  compile project(':lock9viewlib') //注释Module引用
    compile 'org.sogrey:lock9view:0.0.1' //添加compile引用JCenter中央仓库的库文件
重新运行示例项目,成功。
更新已发布的库
1. 更新版本
更新代码后记得更新版本号,修改 module 的 build.gradle 文件里 android -> defaultConfig 下版本信息 :
    versionCode 2
    versionName "0.0.2"
另外,publish下的版本号莫忘了修改:
publish {
    userOrg = 'sogrey'
    groupId = 'org.sogrey'
    artifactId = 'lock9view'
    publishVersion = '0.0.2'//修改版本号
    desc = 'Oh hi, this is a view for Android to lock screen.'
    website = 'https://github.com/Sogrey/Lock9View'
}
2. 提交更新
提交更新跟之前提交JCenter一样,执行命令:
Mac os:
./gradlew clean build bintrayUpload -PbintrayUser=username -PbintrayKey=xxxxxxxxxxxxxxxxxxxxxx -PdryRun=false
win OS:则没有前面的 ./ :
gradlew clean build bintrayUpload -PbintrayUser=username -PbintrayKey=xxxxxxxxxxxxxxxxxxxxxx -PdryRun=false
填坑
坑1. 错误:编码GBK的不可映射字符
如下图:
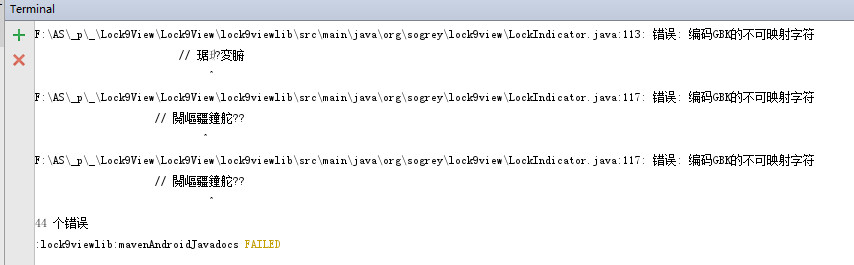
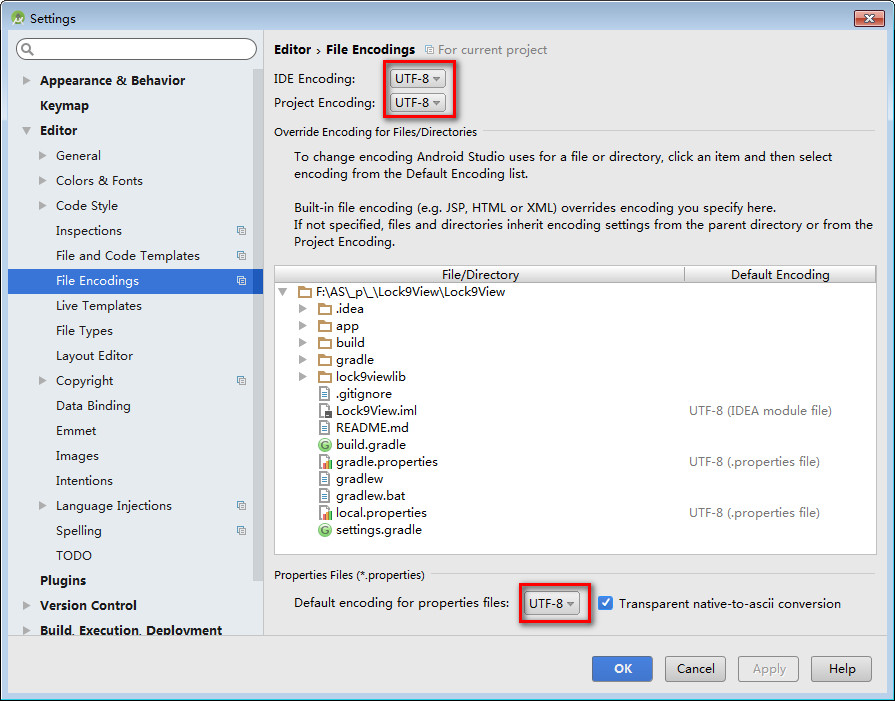
很明显是因为我们项目中有中文注释编码是 GBK,在生成 javadoc 时出错,需要改为 “utf-8” ,android studio中 File -> settings -> Editor -> File Encodings
同时可设置项目的build.gradle:
//添加
allprojects {
    tasks.withType(Javadoc) {
        options{ encoding "UTF-8" charSet 'UTF-8' links "http://docs.oracle.com/javase/7/docs/api" }
    }
}
设置module的build.gradle:
tasks.withType(JavaCompile) {
    options.encoding = "utf-8"
}

task sourcesJar(type: Jar) {
    from android.sourceSets.main.java.srcDirs
    classifier = 'sources'
}

task javadoc(type: Javadoc) {
    source = android.sourceSets.main.java.srcDirs
    classpath += project.files(android.getBootClasspath().join(File.pathSeparator))
    options.encoding = "UTF-8"
}

task javadocJar(type: Jar, dependsOn: javadoc) {
    classifier = 'javadoc'
    from javadoc.destinationDir
}

artifacts {
    archives javadocJar
    archives sourcesJar
}